Chocolate Christmas Cookies
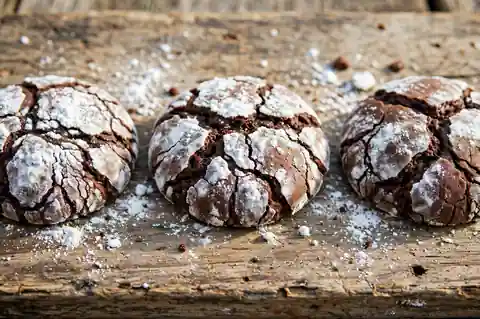
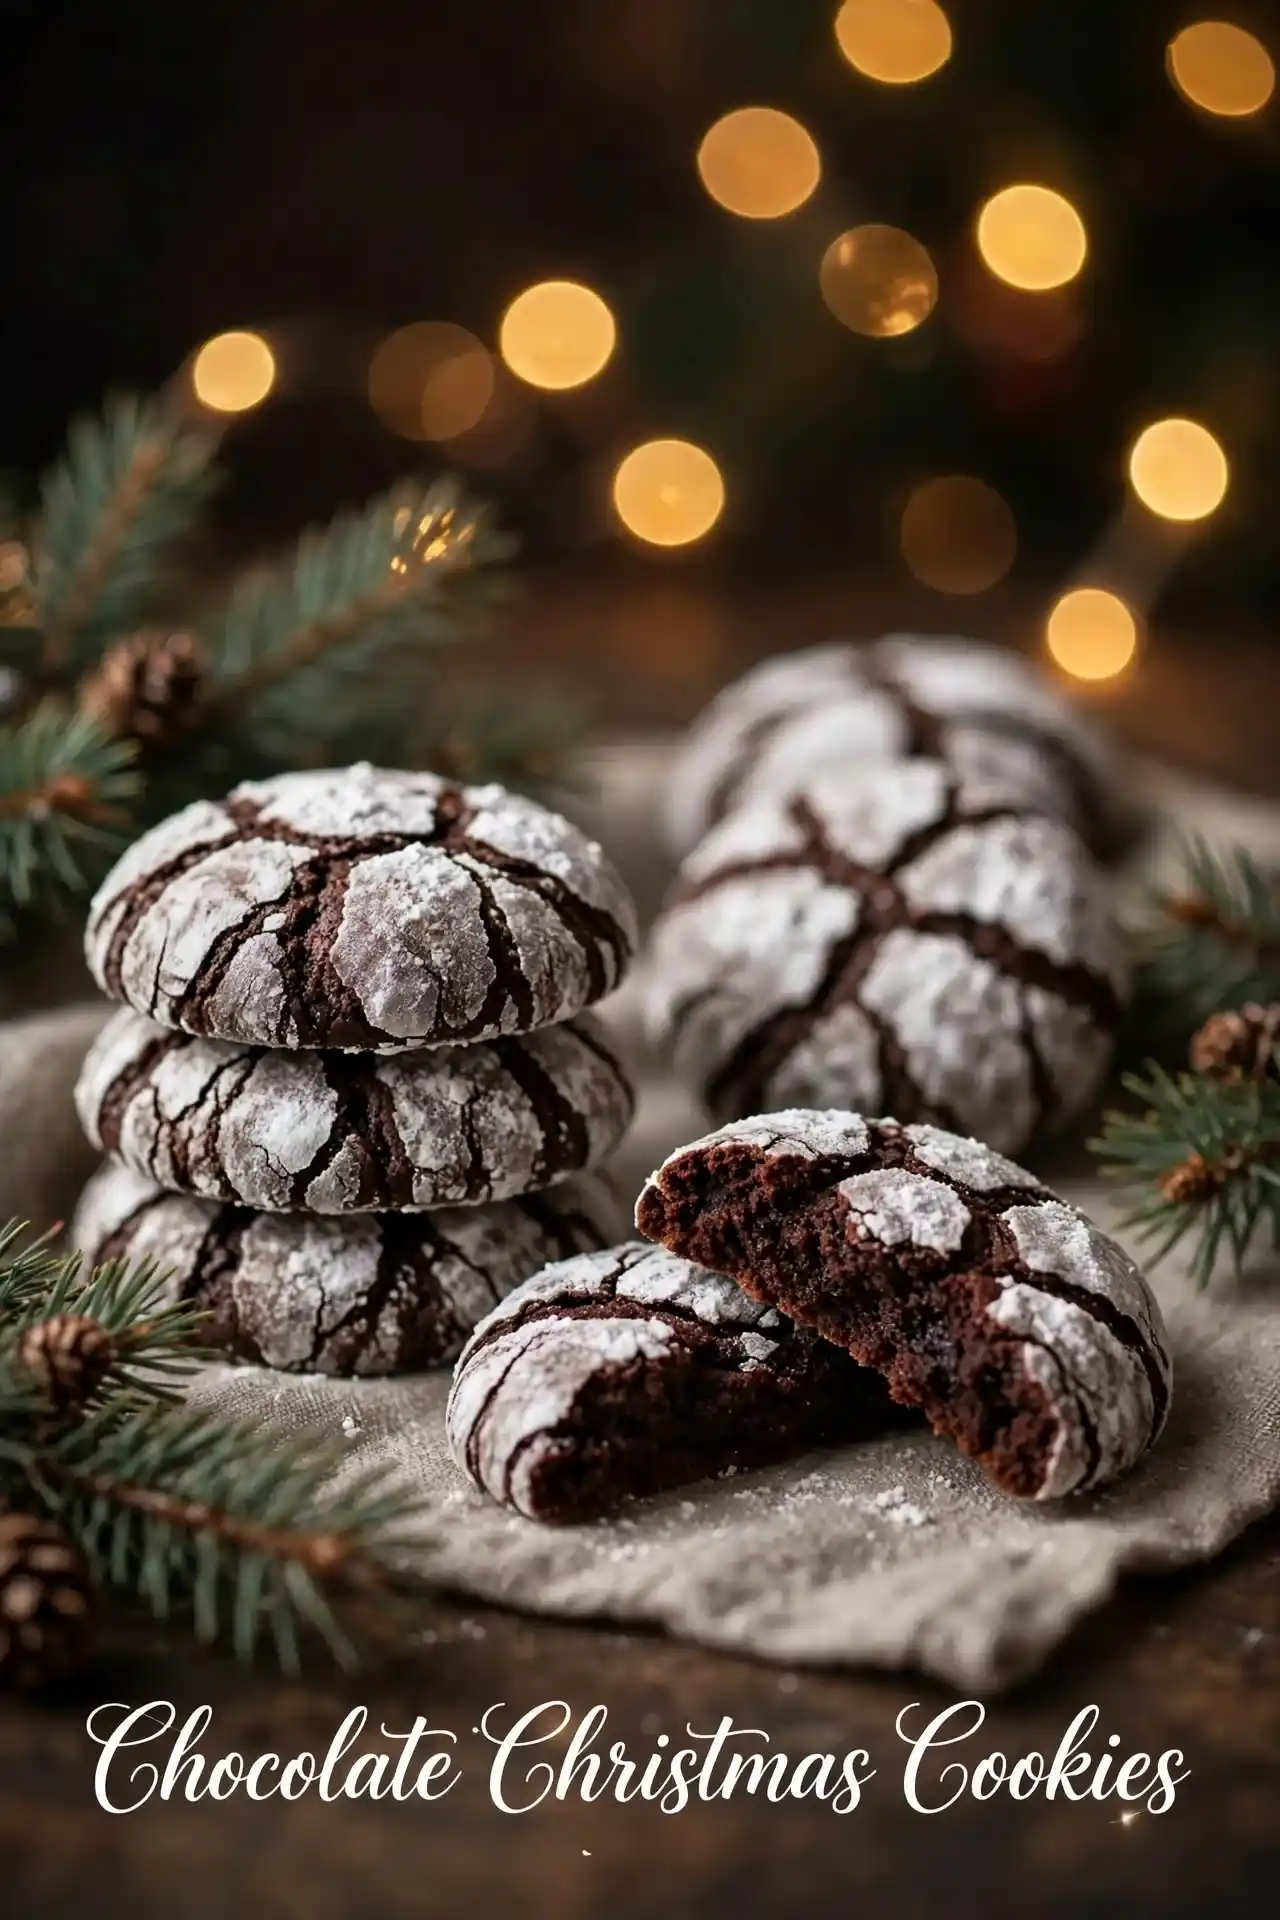
Some cookies look like they had a very good idea. The chocolate crinkle is one of them. The dough goes into the oven as a plain dark ball rolled in powdered sugar, and out it comes cracked and snowy, like a tiny frosted field with the chocolate showing through.
It looks far more complicated than it is. There’s no butter to soften, no mixer to drag out and no rolling pin. You whisk cocoa, oil, sugar, eggs and flour in a single bowl, chill the dough while you tackle the rest of the holiday list and then roll it in sugar. The oven does the clever part, puffing the dough so the sugar coating splits into those pretty cracks.
What you get is a cookie that’s somewhere between a brownie and a truffle: fudgy in the middle, a little crisp at the edge and rich with chocolate without being heavy. It looks wonderful on a cookie platter and travels well in a gift tin, and it happens to be dairy-free, since there’s no butter in the dough.
Why You’ll Love This Chocolate Christmas Cookies Recipe
- No mixer, no softened butter. One bowl and a whisk.
- Make ahead dough. It keeps in the fridge for up to 3 days.
- They look festive without decorating. The crackled sugar top is the decoration.
- Rich, fudgy chocolate flavor. Cocoa powder and a touch of vanilla do the work.
- Naturally dairy free. Oil replaces butter, so there’s no dairy in the dough.
- Great for gifting. They stack neatly and stay soft for days.
How Do Crinkle Cookies Get Their Cracks?
The cracks aren’t an accident. They come from a simple bit of kitchen science.
| What’s happening | Why it matters |
|---|---|
| The dough is rolled in a thick coat of powdered sugar | The sugar forms a dry crust around the soft dough |
| The oven heats the cookie | The inside puffs up and spreads as it bakes |
| The sugar crust can’t stretch | It splits open as the cookie expands |
| Dark dough sits under white sugar | The cracks show in strong contrast |
That explains the three rules for good crinkles: chill the dough so the cookies don’t spread too fast, coat them generously and don’t flatten the balls before baking.
Ingredients
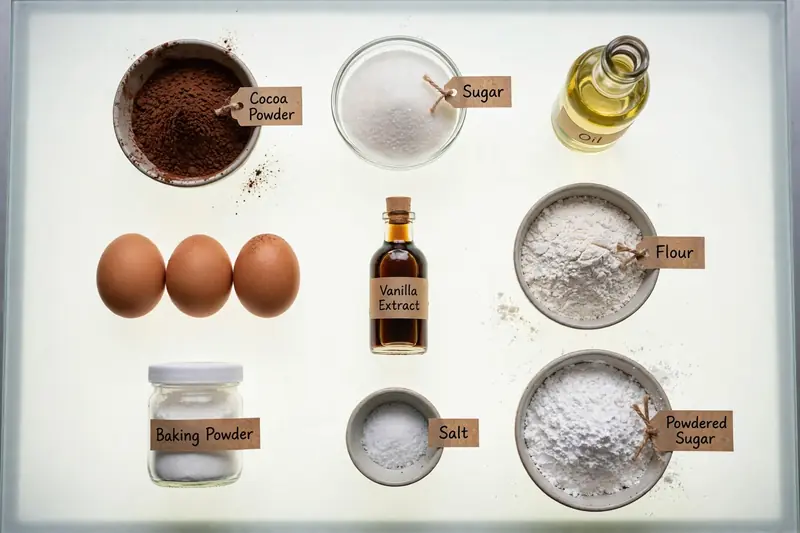
This makes about 24 cookies, using a scoop of roughly 1 tablespoon.
For the dough
- ½ cup (45 g) unsweetened cocoa powder
- ½ cup (120 ml) neutral oil, such as vegetable or canola
- 1 cup (200 g) granulated sugar
- 2 large eggs, at room temperature
- 2 teaspoons vanilla extract
- 1 cup (125 g) all-purpose flour
- 1 teaspoon baking powder
- ¼ teaspoon fine sea salt
For rolling
- ¾ cup (90 g) powdered sugar, in a shallow bowl
A few notes on the ingredients
Cocoa powder. Natural unsweetened cocoa works well, and Dutch-process gives a darker color and a smoother, less sharp taste. Sift it if it’s lumpy.
Oil. It keeps the cookies fudgy and soft for days. A neutral oil won’t compete with the chocolate.
Eggs. They give structure and help the cookies puff and crack. Room temperature eggs blend more smoothly.
Flour. Measure by weight if you can. Too much flour gives dry, cakey crinkles instead of fudgy ones.
Baking powder. It lifts the dough just enough to split the sugar coating. Check that yours is fresh.
Powdered sugar. Use plenty, and sift it if it has lumps. A thick coating gives the best contrast.
Allergen note: this recipe contains wheat and eggs, and it’s dairy-free as written. Check your cocoa and powdered sugar labels for traces of milk, soy or other allergens.
Equipment You’ll Need
- A large mixing bowl
- A whisk and a rubber spatula
- Measuring cups and spoons (or a kitchen scale)
- A fine-mesh sieve (for the cocoa and powdered sugar)
- A small cookie scoop or tablespoon
- A shallow bowl for the powdered sugar
- 2 baking sheets
- Parchment paper
- A wire cooling rack
Instructions
- In a large bowl, whisk the cocoa powder, oil and granulated sugar until smooth and glossy.
- Whisk in the eggs one at a time, then add the vanilla. Whisk for about 1 minute, until thick and shiny.
- Sift the flour, baking powder and salt over the bowl. Fold with a spatula until no dry flour remains. The dough will be soft and sticky.
- Cover the bowl and refrigerate for at least 2 hours, or up to 3 days, until the dough is firm enough to roll.
- Heat the oven to 350°F (175°C) and line two baking sheets with parchment paper.
- Scoop the dough by the tablespoon and roll it into balls between your palms.
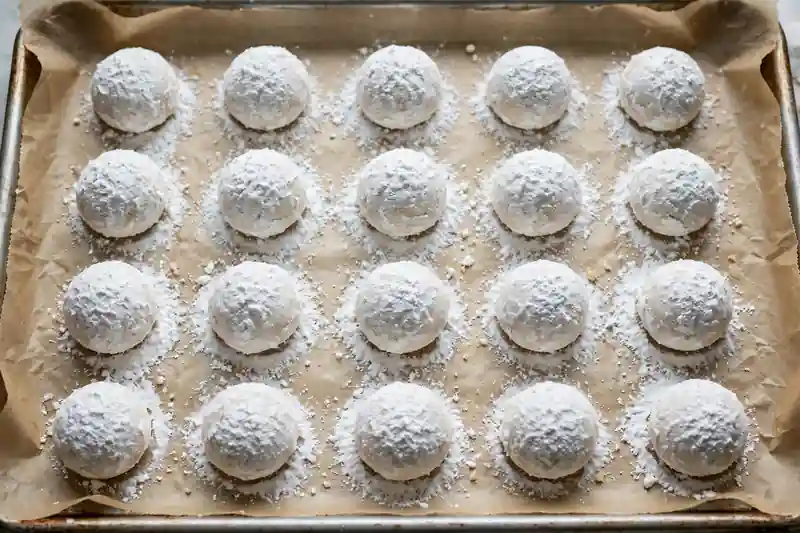
- Roll each ball in the powdered sugar until thickly coated, let it sit for a minute and then roll it again for a heavy, snowy coat.
- Place the balls 2 inches apart on the baking sheets. Don’t flatten them.
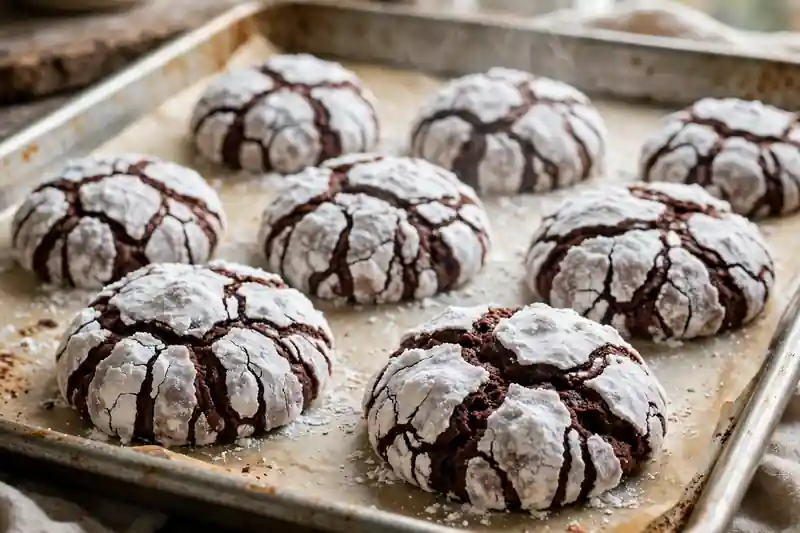
- Bake one sheet at a time for 10 to 12 minutes, until the cookies have puffed and cracked and the edges look set, while the centers still look slightly soft.
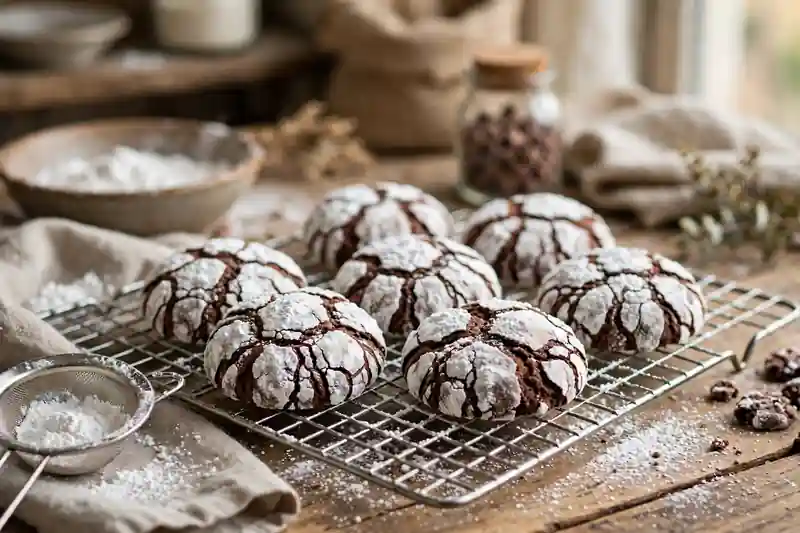
- Let the cookies cool on the pan for 5 minutes, then move them to a wire rack to cool completely.
Tip: The second coat of powdered sugar is the secret to a snowy look. The first layer absorbs into the dough, and the second one stays bright white.
How to Make Chocolate Christmas Cookies, Step by Step
This walkthrough shows what each stage should look like.
Step 1: Whisk the cocoa, oil and sugar. The mixture will look like thick, glossy mud. That’s the base for the fudgy texture.
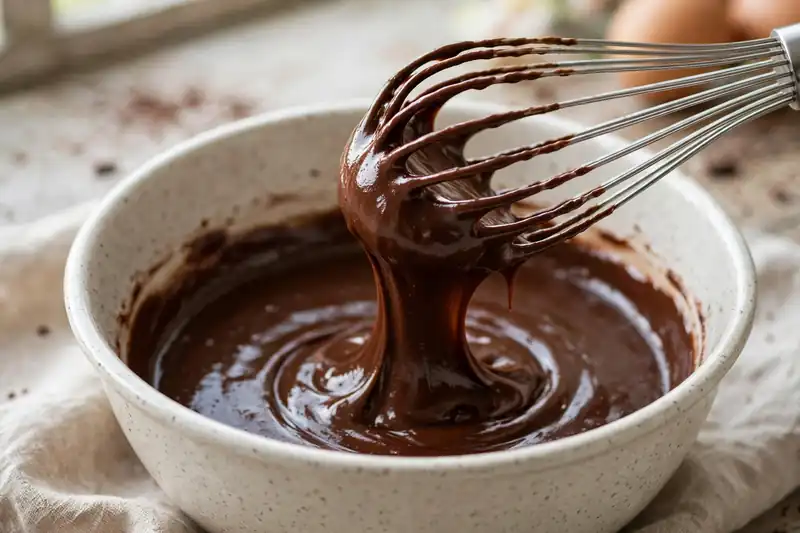
Step 2: Add the eggs and vanilla. Whisk until the batter lightens slightly and turns thick and satiny.
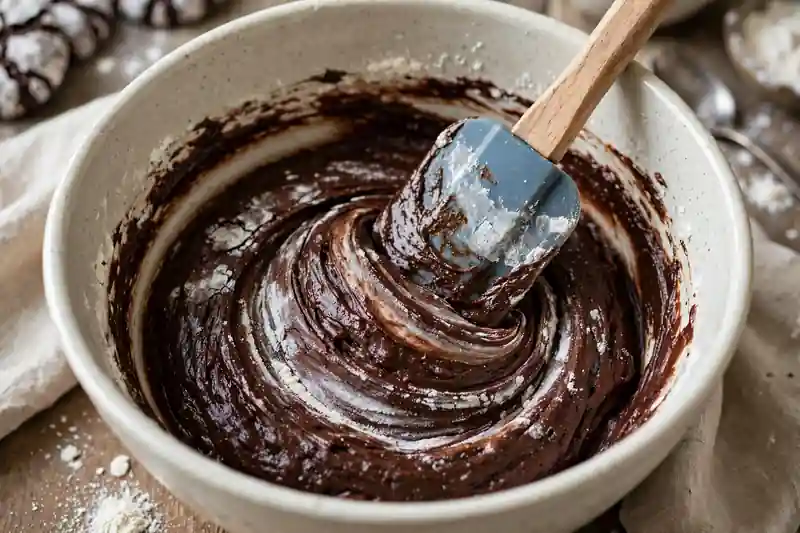
Step 3: Fold in the dry ingredients. Sift the flour, baking powder and salt over the top and fold gently. Stop as soon as no dry flour shows.
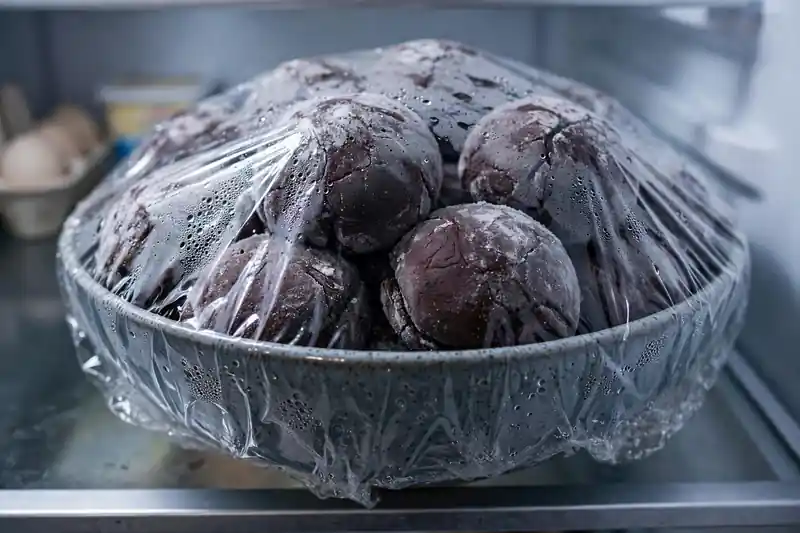
Step 4: Chill the dough. The dough starts out soft and sticky and turns scoopable in the fridge. Don’t skip this.
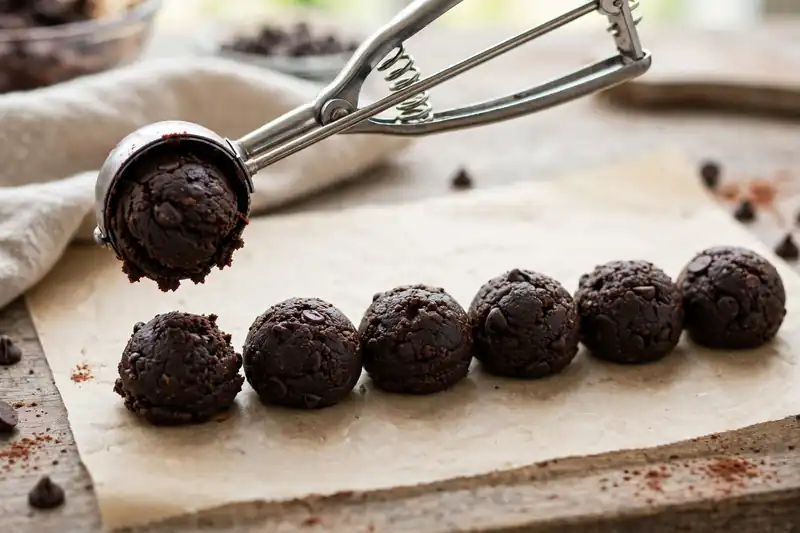
Step 5: Scoop and roll. Use a small scoop for even size, then roll each portion into a smooth ball.
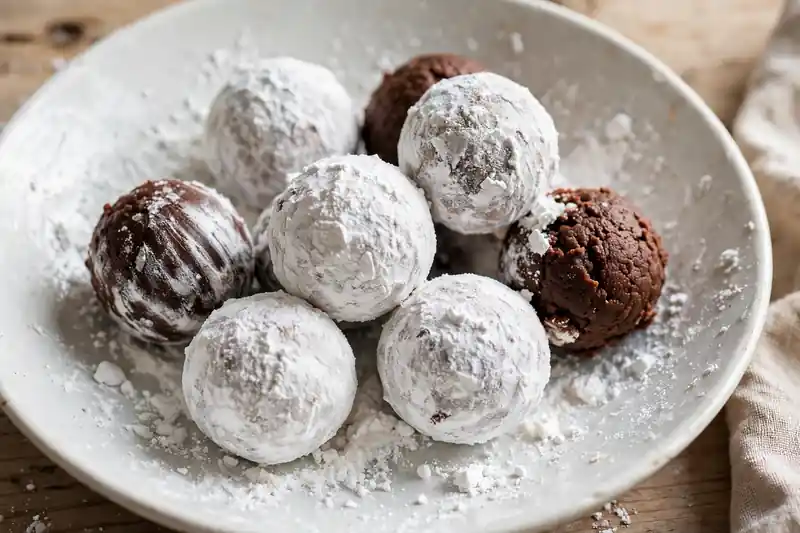
Step 6: Coat twice in powdered sugar. Roll, rest for a minute, then roll again until each ball looks fully white.
Step 7: Arrange on the pan. Place them with space between each, without pressing them down.
Step 8: Bake until cracked. The tops will puff and split into cracks as they bake.
Step 9: Cool on the pan, then the rack. The cookies finish setting as they cool.
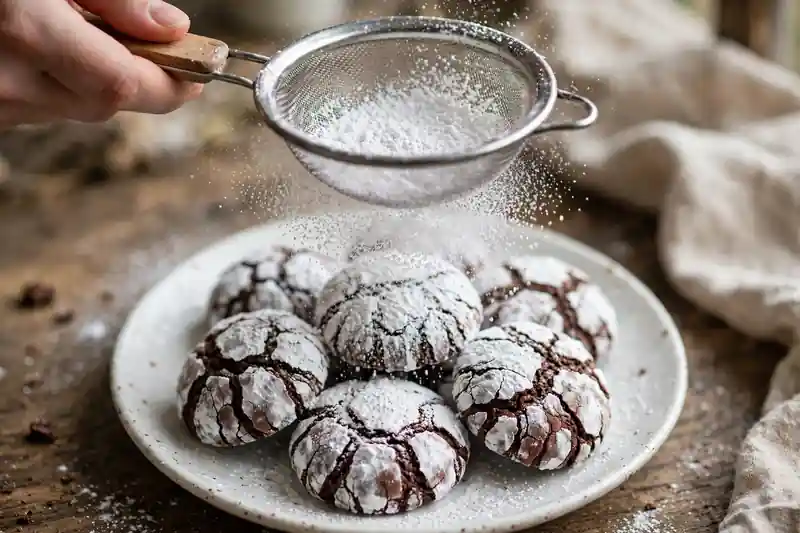
Step 10: Dust and serve. For a picture-perfect finish, add a final snow of powdered sugar just before serving.
Pro Tips for Perfect Crinkles
- Chill the dough properly. It’s the difference between fat cracked cookies and flat dark discs.
- Coat them twice. Heavy sugar means bold cracks.
- Don’t flatten the balls. Let the oven do the spreading.
- Use a scoop. Same-size cookies bake evenly.
- Weigh the flour. It keeps the texture fudgy, not dry.
- Don’t overbake. Pull them when the edges are set and the centers still look a little soft.
- Bake one sheet at a time. It gives more even heat.
- Dust again after cooling. Powdered sugar can melt slightly in the oven.
- Store in a single layer or with parchment between layers. The sugar coating scuffs easily.
- Add a pinch of espresso powder. It deepens the chocolate flavor without tasting like coffee.
Chocolate Christmas Cookies
Ingredients
Equipment
Method
- In a large bowl, whisk the cocoa powder, oil and granulated sugar until smooth and glossy.
- Whisk in the eggs one at a time, then add the vanilla. Whisk for about 1 minute, until thick and shiny.
- Sift the flour, baking powder and salt over the bowl. Fold with a spatula until no dry flour remains. The dough will be soft and sticky.
- Cover the bowl and refrigerate for at least 2 hours, or up to 3 days, until the dough is firm enough to roll.
- Heat the oven to 350°F (175°C) and line two baking sheets with parchment paper.
- Scoop the dough by the tablespoon and roll it into balls between your palms.
- Roll each ball in the powdered sugar until thickly coated, let it sit for a minute and roll again for a heavy coat.
- Place the balls 2 inches apart on the baking sheets. Don’t flatten them.
- Bake one sheet at a time for 10 to 12 minutes, until the cookies have puffed and cracked and the edges look set, while the centers still look slightly soft.
- Cool on the pan for 5 minutes, then move to a wire rack to cool completely.
Notes
- Chill the dough for at least 2 hours so it’s easy to roll and the cookies crack well.
- Coat the dough balls twice in powdered sugar for a snowy look.
- Don’t flatten the balls before baking.
- Weigh the flour. Too much makes cakey, dry cookies.
- Store in an airtight container with parchment between layers for 4 to 5 days.
- Freeze uncoated dough balls for up to 3 months. Thaw, roll in sugar and bake.
- Contains wheat and eggs. The dough has no dairy, but check cocoa and powdered sugar labels.
How Long Should You Chill the Dough?
| Chill time | What to expect |
|---|---|
| 30 minutes | Dough still very soft and sticky, cookies spread more |
| 1 hour | Easier to handle, fewer cracks |
| 2 hours (recommended) | Firm, scoopable dough and bold cracks |
| 24 hours | Deeper flavor and a fudgier center |
| 3 days | Very firm dough, let it sit out for 10 minutes before scooping |
Nutrition Overview
These numbers are a rough estimate for one cookie (the recipe makes about 24). They change with the cocoa, the amount of powdered sugar that sticks and the size of your cookies, so treat them as a guide rather than a label.
| Per cookie (approx.) | Amount |
|---|---|
| Calories | 110 |
| Carbohydrates | 15 g |
| Protein | 1.5 g |
| Fat | 5 g |
| Saturated fat | 0.8 g |
| Sugar | 10 g |
| Fiber | 1 g |
| Sodium | 50 mg |
Allergen note: contains wheat and eggs, and no dairy as written. Check labels on cocoa and powdered sugar for allergens or cross-contact.
Recipe Variations
- Peppermint chocolate. Replace the vanilla with ½ teaspoon of peppermint extract and press a little crushed candy cane onto the warm cookies as soon as they leave the oven.
- Orange chocolate. Add 1 tablespoon of orange zest to the dough for a bright, festive flavor.
- Espresso crinkles. Add 1 teaspoon of instant espresso powder to the cocoa.
- Spiced chocolate. Add ½ teaspoon of cinnamon and a pinch of cayenne for a warm kick.
- Double chocolate. Fold in ½ cup of mini chocolate chips.
- Gluten-free. Use a 1:1 gluten-free baking flour and chill the dough a little longer.
- Mocha. Brush the cooled cookies with a thin coffee glaze before dusting.
- Cherry chocolate. Press a dried cherry into the center of each ball before coating.
- Mini crinkles. Use a teaspoon of dough and bake for 8 to 9 minutes.
Troubleshooting: Fixing Common Problems
| Problem | Why it happens | How to fix it |
|---|---|---|
| The cookies didn’t crack | Dough too warm, or too little sugar coating | Chill the dough longer and roll twice in powdered sugar |
| The sugar melted into the dough | Too thin a coating or damp dough | Use a heavy second coat and roll just before baking |
| The cookies spread flat | Dough wasn’t chilled | Chill for at least 2 hours |
| The cookies are dry | Too much flour or overbaking | Weigh the flour and pull at set edges |
| The cookies are cakey | Too much flour or baking powder | Measure carefully and use fresh baking powder |
| The dough is too sticky to roll | Not chilled long enough | Chill longer, and dust your hands with a little powdered sugar |
| The cookies are bitter | Natural cocoa has a sharp edge | Try Dutch-process cocoa, or add a little extra sugar |
| The cookies are too sweet | Heavy coating | Roll once instead of twice |
| The bottoms burn | Dark pan | Use a light-colored pan and parchment |
| The cookies stick to the pan | No parchment | Line with parchment |
Quick Facts About Chocolate Christmas Cookies
| Fact | Detail |
|---|---|
| Cookie type | Chocolate crinkle |
| Oven temperature | 350°F (175°C) |
| Bake time | 10 to 12 minutes |
| Dough chill time | At least 2 hours |
| Dough size | About 1 tablespoon each |
| Yield | About 24 cookies |
| Dairy | None in the dough |
| Room temperature storage | 4 to 5 days |
| Freezer storage | Dough or baked, up to 3 months |
| Allergens | Wheat and egg |
| Difficulty | Easy |
How to Store and Freeze
Room temperature. Store the cookies in an airtight container for 4 to 5 days. Put parchment between layers so the sugar coating stays pretty.
Freezing the dough. Freeze the scooped, uncoated dough balls on a tray, then store them in a bag for up to 3 months. Thaw in the fridge, roll in sugar and bake.
Freezing baked cookies. Freeze them in a single layer for up to 3 months. Thaw at room temperature and dust with fresh powdered sugar.
Gifting. Cool completely, add a final dusting of powdered sugar and pack in a tin with parchment between layers.
What to Serve With Chocolate Christmas Cookies
- A cold glass of milk
- Hot cocoa, coffee or chai
- A cookie platter with sugar cookies, gingerbread and shortbread
- Vanilla ice cream, with a warm cookie on the side
- A peppermint tea for a cozy evening
FAQs
Usually the dough was too warm or the sugar coating was too thin. Chill the dough well and roll the balls twice in powdered sugar.
Yes. It keeps in the fridge for up to 3 days.
Yes. Without chilling, it’s too sticky to roll and the cookies spread.
Not in this recipe. Oil gives the fudgy texture and the best cracks.
Either natural or Dutch-process works. Dutch-process gives a darker color and smoother flavor.
Final Thoughts
Chocolate Christmas cookies don’t have to be fussy to feel special. A bowl, a whisk, a chilled dough and a thick coat of powdered sugar are enough to turn plain chocolate into something that looks like winter. Make a batch before the holiday rush, tuck some into a tin for a neighbor and keep a few back for yourself. They disappear faster than you’d expect.
If you try them, I’d love to hear how they turned out. Leave a comment below and tell me which variation you chose.