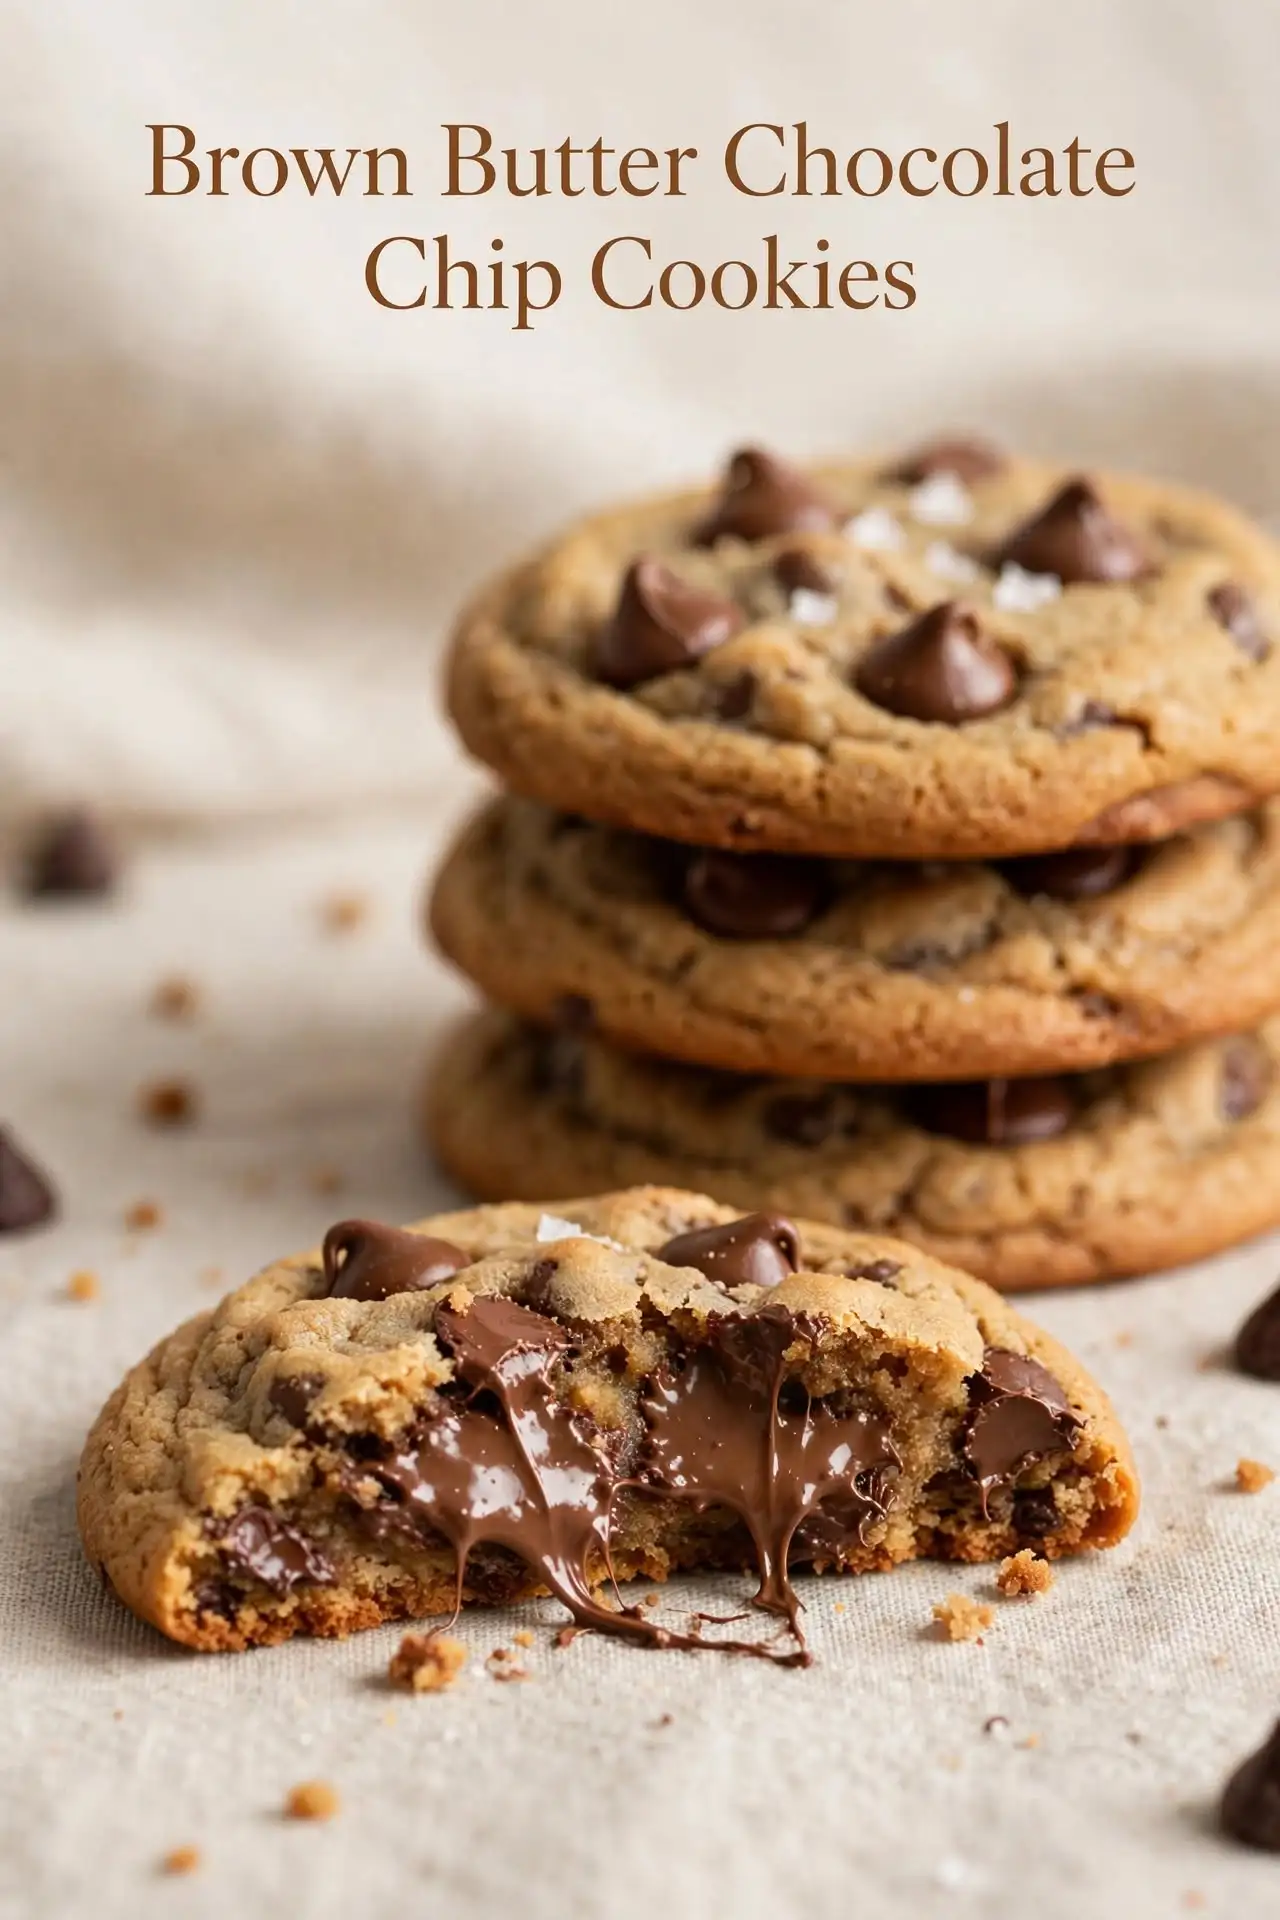
Brown Butter Chocolate Chip Cookies
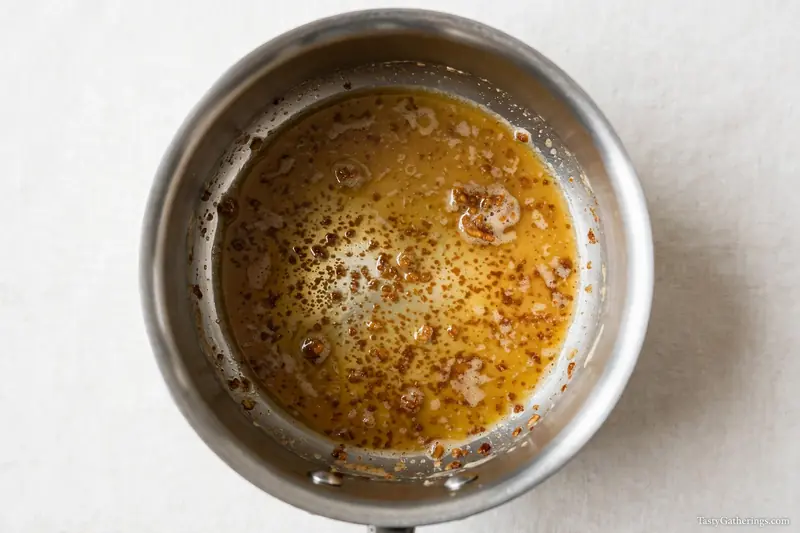
Most cookie recipes ask you to soften the butter and move on. This one asks you to stand at the stove for about eight minutes and watch a pan of plain butter turn into something that smells like toasted hazelnuts and caramel. That small detour is the whole trick.
Browning the butter does something regular butter can’t. It adds a deep, nutty, almost toffee-like flavor that makes people stop mid-bite and ask what you did differently. The cookies themselves are still the classic kind: crisp golden edges, a soft and slightly chewy middle, and puddles of chocolate in every bite. Nothing fancy, just a better version of the cookie you already love.
Why You’ll Love This Recipe
- The flavor is the star. Brown butter adds warmth and depth that plain butter can’t match.
- Crisp edges, soft middles. The mix of brown and white sugar keeps the center chewy while the rim turns lightly crunchy.
- One bowl, no mixer. You mix everything by hand with a spatula.
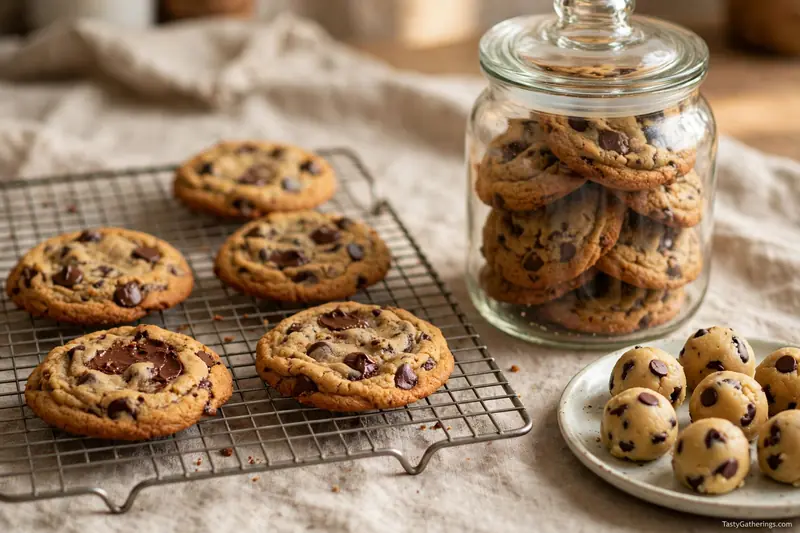
- The dough keeps. Roll it into balls and freeze them, and you can bake fresh cookies on short notice.
- It rewards patience. A short chill makes the cookies thicker and tastier, and an overnight rest makes them even better.
How to Brown Butter
Browning butter is easier than it sounds, but the window between “perfect” and “burnt” is short, so it helps to know what to look for. Use a light-colored pan if you have one (stainless steel is ideal), because you can actually see the color change. A dark non-stick pan hides it.
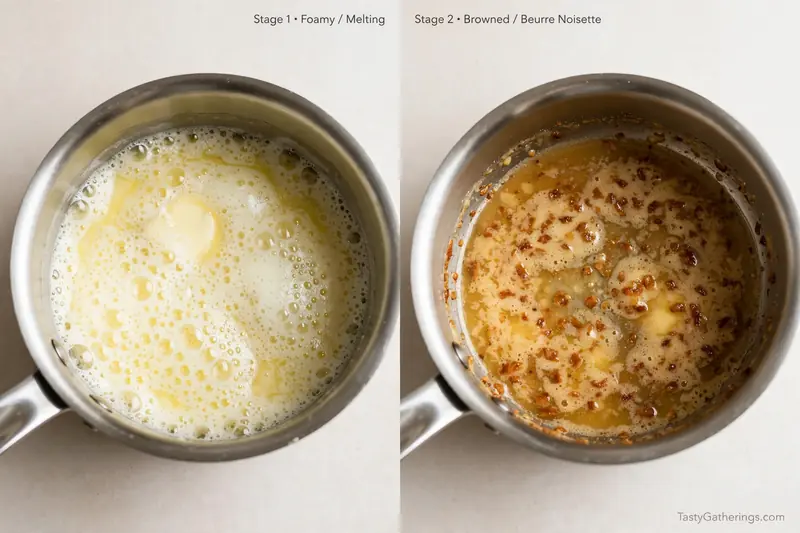
Melt the butter over medium heat, stirring or swirling now and then. It will go through several stages:
| Stage | What you’ll see and smell | What to do |
|---|---|---|
| Melting | Butter turns into a cloudy yellow liquid | Keep stirring gently |
| Foaming | Loud bubbling, thick white foam on top | Keep going, this is steam leaving the butter |
| Quieting | Bubbles shrink and the sound softens | Watch closely, you’re close |
| Browning | Golden amber color, brown specks on the bottom, nutty smell | Take it off the heat right away |
| Burnt | Dark brown or black specks, sharp smoky smell | Too far. Start over, burnt butter tastes bitter |
When it smells nutty and the specks are the color of toasted sesame, pour everything, including the brown bits, into a heatproof bowl. Those specks are toasted milk solids, and they hold most of the flavor. Don’t leave them in the pan.
Recipe Card
Brown Butter Chocolate Chip Cookies
Ingredients
Equipment
Method
- Brown the butter. Cut the butter into pieces and melt it in a light-colored pan over medium heat. Stir often. Once it foams, keep swirling until it turns golden amber and smells nutty, about 5 to 8 minutes. Pour it right away into a heatproof bowl, scraping in all the brown bits.
- Cool it down. Let the butter sit for 10 to 15 minutes, until it’s warm but no longer hot. If it’s too hot, it can cook the eggs and melt the chocolate.
- Mix the dry ingredients. In a medium bowl, whisk the flour, baking soda and salt.
- Add the sugars. Stir the brown sugar and granulated sugar into the cooled brown butter until smooth.
- Add the egg, yolk and vanilla. Whisk in the egg, yolk, vanilla and milk until the mixture looks glossy and thick.
- Combine. Fold in the dry ingredients with a spatula until just combined. Stop as soon as you don’t see dry flour.
- Add the chocolate. Fold in the chocolate chips or chopped chocolate.
- Chill the dough. Cover the bowl and refrigerate for at least 30 minutes, or up to 24 hours. The dough will firm up and become easier to scoop.
- Heat the oven. Preheat to 350°F (175°C). Line two baking sheets with parchment paper.
- Scoop. Portion the dough into balls of about 2 tablespoons each and place them 2 inches apart on the sheets.
- Bake. Bake one sheet at a time for 10 to 12 minutes, until the edges are golden and the centers still look slightly soft.
- Finish. Sprinkle with a pinch of flaky salt right out of the oven. Let the cookies rest on the sheet for 5 minutes, then move them to a wire rack.
Notes
Pro Tips for Better Cookies
- Weigh your flour. It’s the easiest way to avoid dry, cakey cookies.
- Don’t walk away from the pan. Butter goes from golden to burnt in under a minute near the end.
- Cool the butter properly. Warm, not hot, is the goal.
- Let the dough rest. Even 30 minutes helps, but 24 hours develops a deeper toffee flavor as the flour absorbs the moisture.
- Chop a bar of chocolate. Shards and chunks melt into layered puddles that chips can’t match.
- Use a scoop. Equal-size cookies bake evenly, so you don’t end up with some burnt and some raw.
- Rotate the pan. If your oven has hot spots, turn the sheet halfway through baking.
- Underbake slightly. The cookies finish setting on the hot pan, so pulling them when the centers still look soft keeps them chewy.
- Press a few extra chocolate pieces on top. It makes the cookies look better in photos, too.
How Long Should You Chill the Dough?
This is where a good cookie turns into a great one.
| Chill time | What to expect |
|---|---|
| None | Thinner, wider cookies that spread more |
| 30 minutes | Thicker cookies with soft centers (minimum) |
| 2 to 4 hours | Better shape and slightly deeper flavor |
| 24 hours | Rich toffee flavor, thick cookies, great texture (best) |
| 48 to 72 hours | Very deep flavor, slightly drier dough, bake it a minute longer |
Nutrition Overview
These numbers are a rough estimate for one cookie (the recipe makes about 22). They change with the chocolate and size you use, so treat them as a guide rather than a label.
| Per cookie (approx.) | Amount |
|---|---|
| Calories | 230 |
| Carbohydrates | 30 g |
| Protein | 2.5 g |
| Fat | 12 g |
| Saturated fat | 7 g |
| Sugar | 19 g |
| Fiber | 1 g |
| Sodium | 120 mg |
How the size changes things
| Cookie size | Scoop | Approx. yield | Bake time |
|---|---|---|---|
| Small | 1 tablespoon | 40 cookies | 8 to 9 minutes |
| Standard | 2 tablespoons | 22 cookies | 10 to 12 minutes |
| Bakery-style | 3 tablespoons | 14 to 15 cookies | 13 to 15 minutes |
Recipe Variations
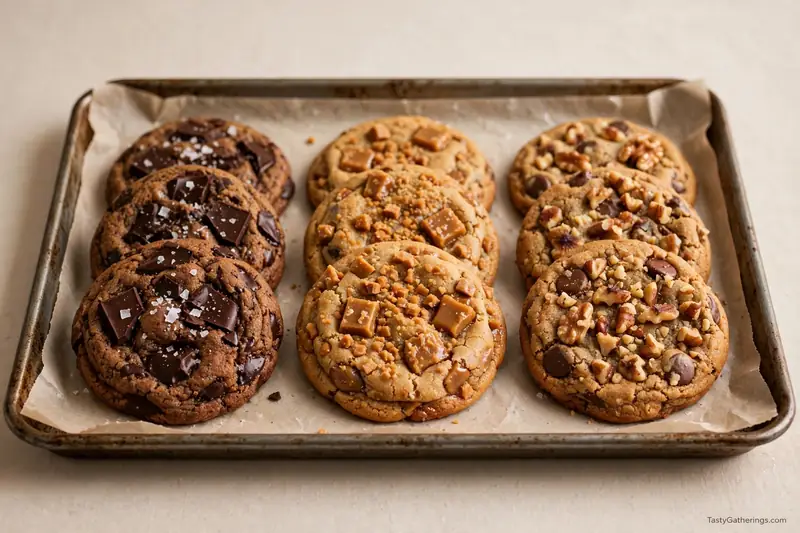
- Dark chocolate and sea salt. Use 70% dark chocolate and be generous with the flaky salt.
- Toffee crunch. Replace ½ cup of the chocolate with toffee bits.
- Nutty. Fold in ¾ cup chopped toasted pecans or walnuts.
- Espresso. Add 1 teaspoon instant espresso powder to the dry ingredients. It won’t taste like coffee, it just deepens the chocolate.
- Cinnamon. A half teaspoon of cinnamon adds a warm, cozy note, especially in cold weather.
- Mixed chocolate. Use half semi-sweet and half milk chocolate for a sweeter result.
- Gluten-free. Replace the flour with a 1:1 gluten-free baking blend and chill the dough a little longer.
- Dairy-free. Plant-based butter doesn’t brown the way real butter does, so this recipe really depends on dairy butter.
Troubleshooting: Fixing Common Problems
| Problem | Why it happens | How to fix it |
|---|---|---|
| Cookies spread too thin | Butter was too warm, dough wasn’t chilled, or too little flour | Cool the butter longer, chill the dough, and weigh the flour |
| Cookies are cakey | Too much flour or overmixing | Measure carefully and stop mixing when flour disappears |
| Cookies are greasy | Butter was too hot when mixed in | Let it cool until just warm |
| Cookies are hard or dry | Overbaked or too much flour | Pull them when centers look slightly soft |
| Butter tastes bitter or burnt | It went past golden into dark brown | Start over and take it off the heat sooner |
| No nutty flavor | Butter wasn’t browned long enough | Cook until golden amber with brown specks |
| Chocolate melted into the dough | Butter was too hot | Cool the butter and chill the dough before adding chocolate |
| Cookies look flat on top | Dough is too soft | Chill it longer or add 1 tablespoon more flour |
| Cookies stick to the pan | No parchment or a warm tray | Use parchment and cool the sheet between batches |
Quick Facts About Brown Butter Cookies
| Fact | Detail |
|---|---|
| What brown butter is | Butter cooked until the milk solids toast and turn golden |
| French name | Beurre noisette, meaning “hazelnut butter” |
| Why it tastes nutty | Heat toasts the milk solids and creates new flavor compounds |
| Butter weight loss | Browning evaporates part of the butter’s water |
| Dough chill time | 30 minutes minimum, 24 hours ideal |
| Oven temperature | 350°F (175°C) |
| Bake time | 10 to 12 minutes |
| Shelf life | 4 to 5 days at room temperature |
| Difficulty | Easy, with one step that needs attention |
How to Store and Freeze
Room temperature. Keep cookies in an airtight container for 4 to 5 days. Put a slice of bread in the container if you like them soft, since the cookies take up its moisture.
Freezing baked cookies. Cool completely, then freeze in a sealed bag for up to 3 months. Thaw at room temperature.
Freezing dough. Scoop the dough into balls, freeze on a tray until solid, then move to a bag. Bake straight from frozen at 350°F (175°C) and add 1 to 2 minutes to the baking time. This is the easiest way to have fresh cookies any night.
Reviving a cookie. Warm it in the oven at 300°F (150°C) for 3 to 4 minutes, or microwave for 8 to 10 seconds.
FAQs
You can use melted butter, but you’ll lose the nutty flavor that makes these cookies special. It only adds about 8 minutes.
You can, but the cookies will spread more and taste less rich. Even 30 minutes helps.
Browning evaporates some of the butter’s water. A tablespoon of milk puts moisture back, so the cookies stay soft.
Yes. Reduce the added salt to ½ teaspoon, and taste your dough.
Semi-sweet is the classic choice. Chopped bars make better puddles, and a mix of chips and chunks gives the most variety.
It cooked too long or the heat was too high. Use medium heat, a light-colored pan, and take it off as soon as it smells nutty.
Yes. Brown the butter in a larger pan so it doesn’t foam over, and bake in batches.
Yes, it keeps in the fridge for up to 72 hours or in the freezer for up to 3 months.
Chill the dough, don’t overbake them, and use dark brown sugar for extra chew.
Final Thoughts
Brown butter chocolate chip cookies are proof that a small change can transform a familiar recipe. Same ingredients, one extra pan, and suddenly the cookie tastes richer, deeper and a little bit like a bakery. Make the dough tonight, let it rest in the fridge, and bake a few warm cookies tomorrow.
If you try them, I’d love to know how they turned out. Leave a comment below, and save the recipe on Pinterest for your next baking day.